
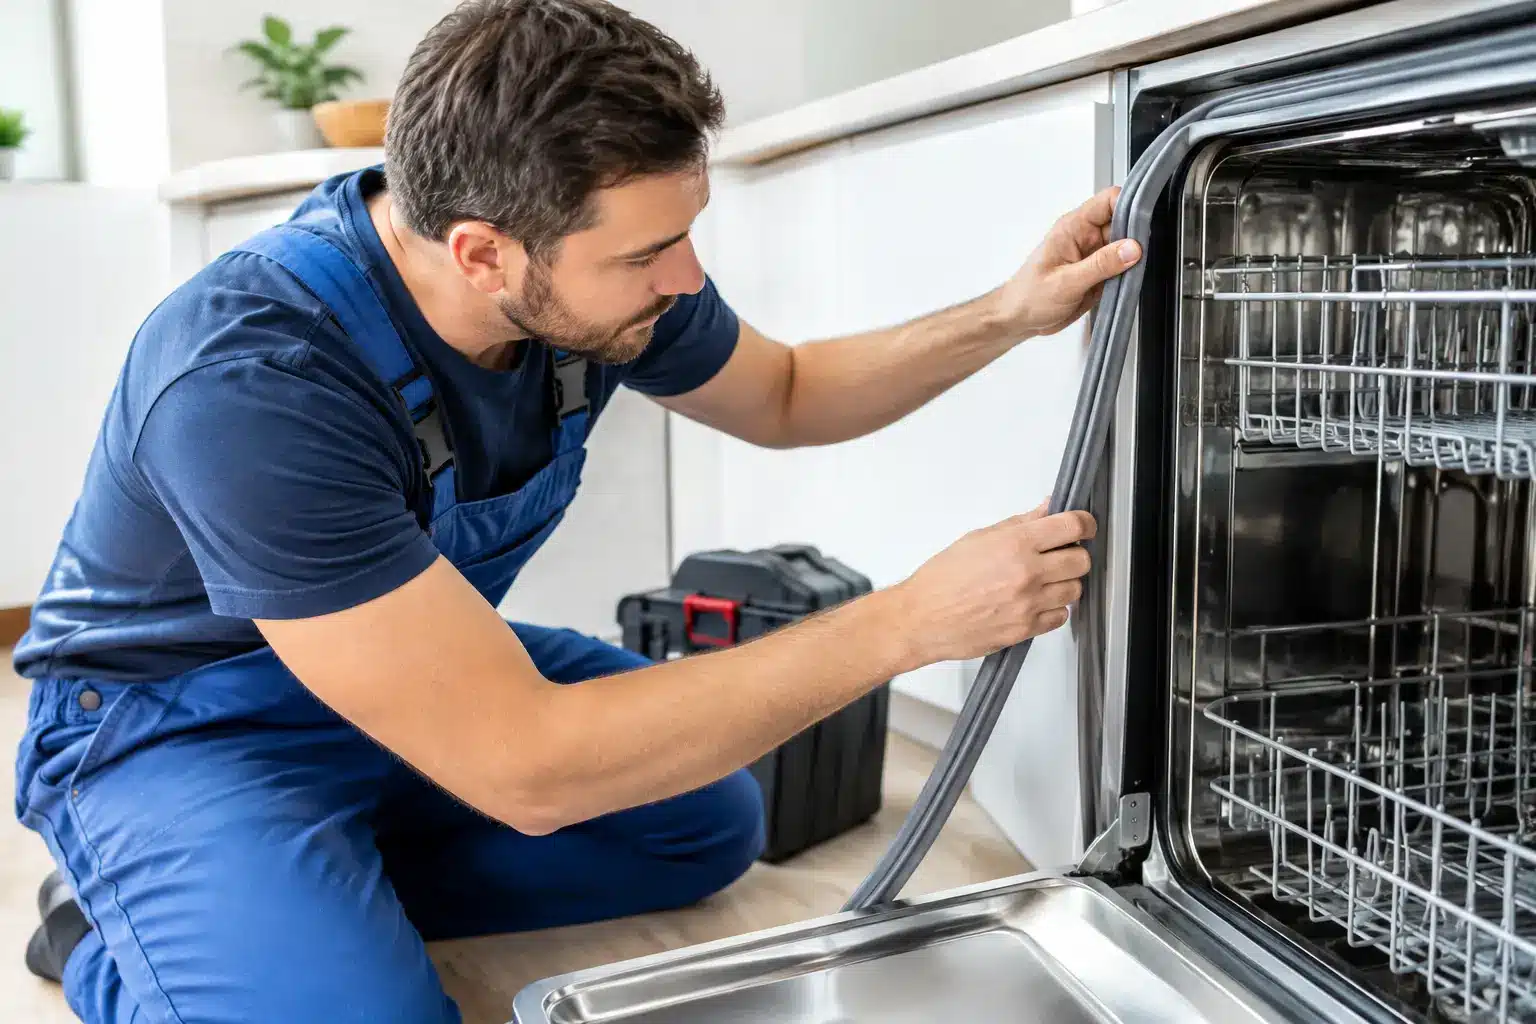
A small puddle beneath a dishwasher can turn into damaged flooring, swollen kitchen units and a difficult landlord conversation surprisingly quickly. Knowing how to replace a dishwasher seal can solve a straightforward door leak, but only when the seal is genuinely the cause. A split hose, blocked spray arm, warped door or faulty latch can all send water out from the same area.
The seal around the dishwasher door is designed to keep wash water inside while the appliance is running. It is a simple component, but it has to sit correctly along the full edge of the tub. Fit the wrong part, twist it during installation or overlook the reason the old seal failed, and the leak may return on the next cycle.
Confirm that the dishwasher seal is the problem
Before ordering a replacement, dry the inside edge of the door and the floor around the appliance. Run a short rinse programme while watching carefully for the first sign of water. Do not put hands near moving parts or electrical connections while the machine is operating.
A worn door seal often looks flattened, cracked, brittle, loose at the corners or stained with mould and grease. You may also see water tracking from the same point on the front of the dishwasher every time it runs. On some models, the main perimeter gasket is at fault; on others, the lower door seal or deflector is the issue. These are different parts and should not be treated as interchangeable.
If water seems to come from below the door only during a powerful wash phase, inspect the spray arms as well. A blocked nozzle or loose spray arm can fire water directly at the door with more force than the seal can manage. Excess foam from using washing-up liquid instead of dishwasher detergent can create a similar symptom.
Get the correct replacement seal
Use the dishwasher model number from the rating plate, usually found on the inner edge of the door or the side of the tub. The brand name alone is not enough. Bosch, Beko, Miele, AEG, Zanussi and other manufacturers use seals with different profiles, lengths and fixing methods across their ranges.
Check whether you need a full door gasket, a bottom door seal, or both. A perimeter gasket normally presses into a channel around the tub opening. A lower seal may sit on the bottom of the door and can require removal of the inner door panel. If the part description does not clearly match your model number, pause before fitting it. Forcing an almost-right seal into place usually causes more problems than it solves.
It is also worth examining the door hinges and latch. A door that drops slightly, needs lifting to close or fails to sit squarely can leave a gap even with a new gasket installed. In that situation, replacing the seal alone is unlikely to provide a durable repair.
How to replace a dishwasher seal safely
Start by switching the dishwasher off at the mains. If it is hard-wired or connected through a fused spur, isolate the correct circuit rather than relying only on the appliance controls. Turn off the water supply if you will be pulling the machine out or working around its connections. Place towels in front of the appliance to protect the floor and catch any residual water.
Remove the old perimeter gasket
Open the door fully and locate the edge of the existing gasket. Most perimeter seals can be pulled away gently from one corner. Work steadily around the tub lip, pulling the seal out of its retaining channel without using a sharp blade. A screwdriver can damage the plastic liner or enamelled surface, creating another route for water to escape.
Once removed, clean the channel thoroughly with warm water and a mild detergent. Wipe away grease, food debris, detergent residue and any mould. Then dry the channel completely. The new gasket must sit against a clean surface to seal evenly.
Compare the old and new parts before fitting. They should be the same general shape and length. Some new seals feel firmer than the old one because rubber hardens and compresses over time. That is normal, but a visibly different profile is a warning that the replacement may be incorrect.
Fit the new gasket evenly
Begin at the top centre of the dishwasher opening, if the manufacturer’s part design allows it, and press the gasket into the channel with your thumbs. Continue down each side in small sections. Do not stretch the rubber to make it reach. A stretched seal can shrink back and pull away from the corners after a few hot wash cycles.
As you work around the opening, check that the gasket is fully seated and has not rolled or twisted. The corners deserve extra attention because they are common leak points. When the gasket is in place, run your fingers around it once more to confirm that it is level and secure.
Close the door gently. It may feel firmer than before, particularly with a new seal. Do not slam it. Leave the door closed for a short period so the gasket can settle into its working position.
Replacing a lower door seal
A lower door seal is more model-specific. On many dishwashers, it cannot be accessed properly without removing screws from the inner door panel while holding the outer panel securely in place. The door may contain wiring for controls, displays or dispensers, so this job needs care.
If you can see that the lower strip is torn, distorted or detached, consult the appliance instructions for the correct method before undoing any fixings. Take a clear photo of the panel arrangement first and keep screws organised. Never run the dishwasher with the inner door panel loose or partially refitted.
For tenants, landlords and busy households, this is often the point at which a professional repair is the more practical option. It avoids damage to the door assembly, prevents an incorrect reassembly and gives the engineer a chance to check the hinges, latch and spray system at the same visit.
Test for leaks before returning to normal use
Restore the power and water supply, then run a short programme with the dishwasher empty. Stay nearby for the first few minutes and inspect the lower corners of the door, the base of the appliance and the pipework beneath the sink. Use a torch if needed, but keep it away from standing water.
A dry test cycle is encouraging, but check again after a full wash. Heat can make a new gasket soften and settle. If you find a small amount of water, do not keep running cycles in the hope that it will bed in. Switch the appliance off, dry the area and inspect whether the seal has lifted, twisted or been fitted into the wrong channel.
If the leak remains despite a correctly fitted new seal, the fault is likely elsewhere. Common causes include a damaged door hinge, failing latch, distorted door panel, blocked filter, faulty spray arm, leaking sump or an issue with the inlet and drain connections. Accurate diagnosis matters because repeated leaks can affect kitchen flooring and, in flats, neighbouring properties below.
When to call a dishwasher repair engineer
Call for professional help if the dishwasher trips the electrics, leaks heavily, shows an error code, has water underneath the base, or still leaks after the seal is replaced. Also avoid dismantling an integrated dishwasher door unless you are confident with the panel arrangement and safe isolation procedure.
FaultFree Engineering Group provides practical dishwasher diagnosis and repair for homes, landlords and businesses across London. A proper inspection can identify whether the fault is the gasket itself or a component that is putting the seal under pressure, helping avoid the cost and disruption of repeat repairs.
A new dishwasher seal is a modest part, but the result should be simple: a door that closes evenly, a wash cycle that stays contained and a kitchen floor that remains dry.