
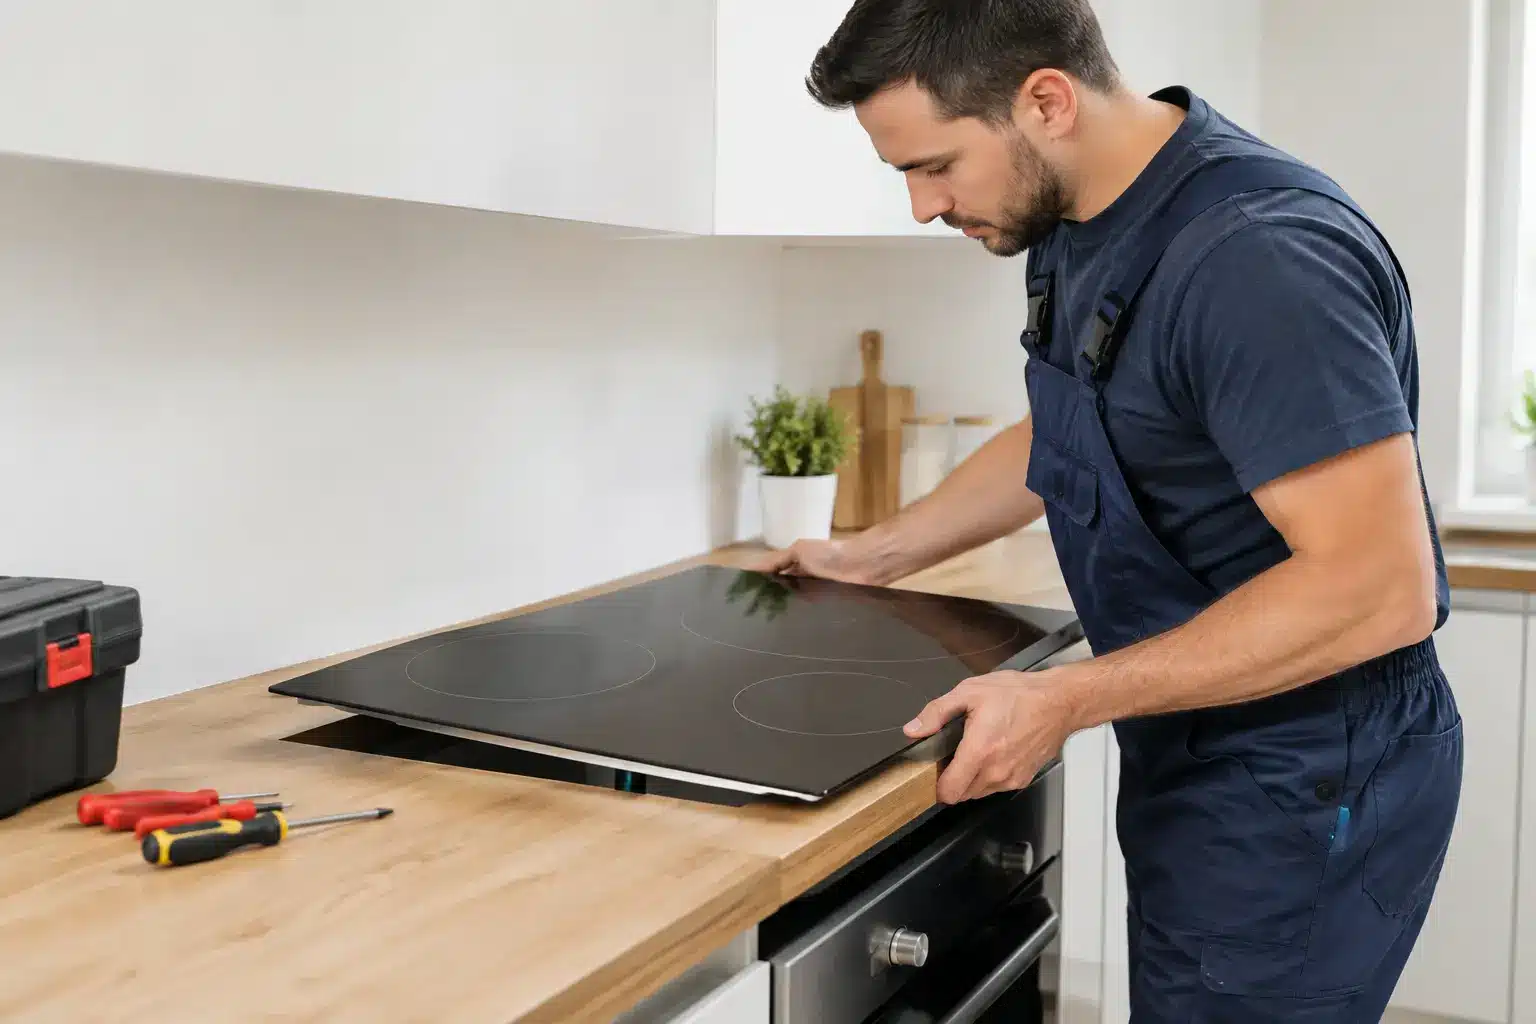
A new electric hob can look like a straightforward kitchen upgrade, but the connection behind the worktop is where safety matters. Knowing how to install an electric hob properly means checking the appliance rating, circuit capacity, ventilation clearances and isolation arrangements before a single cable is connected. A hob that powers up is not automatically a safe installation.
For most London homes, particularly older flats and rental properties, a qualified electrician is the sensible choice. Electric hobs draw a substantial load, and an unsuitable circuit, damaged cable or poorly secured connection can create a fire or shock risk. The job must be tested, not simply switched on.
Check the Hob and Existing Supply First
Start with the installation instructions supplied by the manufacturer. They set out the cut-out dimensions, minimum clearance above and below the hob, cable requirements, ventilation rules and the required electrical load. These details vary between ceramic, induction and traditional solid-plate models, so never assume that a replacement hob can use exactly the same arrangement as the old one.
Find the hob’s power rating on its data plate or specification sheet. Many full-size electric hobs are rated around 6 kW to 7.4 kW, although some models are higher. This normally calls for a dedicated cooker circuit rather than a standard 13-amp socket. Smaller portable or compact hobs may be plug-in appliances, but only connect one in this way if the manufacturer specifically permits it.
The existing installation also needs a proper assessment. Check whether there is a double-pole cooker isolator switch, usually located close to the kitchen entrance, and whether the circuit is protected by a suitable MCB or RCBO at the consumer unit. The cable size, route, condition and protective device must suit the new hob’s design load.
Do not rely on the rating of the old appliance alone. An old hob may have been incorrectly connected, or its circuit may no longer meet the needs of a more powerful induction model. If the main fuse trips when cooking zones are used together, that is a fault to investigate, not a reason to fit a larger breaker.
When a Qualified Electrician Is Needed
Replacing an existing hard-wired hob can still involve electrical work that needs competent assessment and testing. Work in a kitchen is also more demanding because water, heat, cabinetry and concealed services all affect the installation.
A qualified electrician should handle the work if a new cooker circuit is required, the cable needs changing, the consumer unit needs alteration, there is no local isolation switch, or the existing supply shows signs of overheating or damage. The same applies if you are unsure whether the hob is single-phase compatible or whether load management is needed.
In England, electrical work must comply with current wiring requirements and Building Regulations. Depending on the scope of work, notification and certification may be required. For landlords, retaining clear electrical records is good practice and supports wider property safety responsibilities. A professional installation should include appropriate inspection, electrical testing and documentation where applicable.
Prepare the Worktop and Cabinet Space
Before isolating the power, confirm that the hob will physically fit. Measure the worktop cut-out rather than the overall glass dimensions. A few millimetres can make the difference between a secure fit and stress on the glass edge.
The cut-out must be clean, square and within the manufacturer’s stated tolerances. If the worktop is chipboard, seal any freshly cut edges as instructed to reduce the risk of moisture swelling the material. Do not force the hob into a cut-out that is too tight, and do not bridge large gaps with excessive sealant.
Clearance below the hob is just as important. Induction hobs contain electronics that need airflow, while all electric hobs need separation from drawers, ovens and combustible materials according to their instructions. Some hob and oven combinations require a heat shield or a specific ventilation gap. If a drawer directly below prevents the cable from routing safely or blocks ventilation, the cabinet arrangement needs changing before installation.
Also check for pipes, cables and structural supports beneath the worktop. Cutting first and checking later is an expensive mistake.
How to Install an Electric Hob: Safe Connection Steps
The exact terminal layout and cable specification are manufacturer-specific, so follow the appliance instructions at every stage. The process below explains the safe sequence, not a substitute for electrical competence.
Isolate and prove the circuit is dead
Switch off the cooker circuit at the consumer unit and isolate it at the local cooker switch where fitted. Then prove dead using suitable test equipment. Never work on the assumption that a labelled breaker controls the correct circuit. Labels can be wrong, especially after alterations in older properties.
Avoid using a non-contact voltage pen as the only proof of isolation. Proper testing procedures use suitable, maintained equipment and confirm the tester works before and after checking the circuit.
Inspect the outlet and cable
Remove the cooker connection plate only once the supply has been safely isolated. Look for heat discolouration, brittle insulation, loose terminals, corrosion or undersized cable. Any of these signs means the installation should be repaired or upgraded before the new hob is connected.
The flex between the connection point and hob must be heat-resistant where specified, correctly rated and long enough to avoid strain, without being trapped against hot surfaces or crushed by the oven or drawers. The cable clamp is not optional. It prevents movement of the flex from pulling conductors out of their terminals.
Connect exactly to the manufacturer diagram
Electric hobs can have different terminal arrangements for different supply configurations. Use the connection diagram supplied with that exact model, including any terminal links or bridges specified by the manufacturer. Never copy links from an old appliance or guess based on wire colours.
Connect live, neutral and earth conductors to their clearly marked terminals, with no exposed copper beyond the terminal and no loose strands. Tighten terminals to the stated torque where provided. Incorrect or loose terminals can overheat under load even when the hob initially appears to work.
Once connected, secure the cable clamp, refit the terminal cover and make sure the cable route remains clear of sharp edges and heat sources.
Seat the hob without relying on sealant
Fit the supplied sealing strip or gasket around the underside of the hob if the manufacturer requires one. Lower the hob carefully into place and use the supplied fixing clips where provided. The glass should sit evenly on the worktop, without rocking or excessive pressure on one corner.
Do not add silicone around the edge unless the instructions specifically say to do so. A permanently bonded hob is harder to service safely and can damage the worktop or appliance when it needs to be removed.
Test the Installation Properly
Testing is the point that separates a safe installation from a hopeful one. Before normal use, the circuit should be inspected and electrically tested as appropriate, including protective conductor continuity, insulation resistance, polarity and fault protection. The electrician must also confirm that the circuit’s protective device and cable are suitable for the intended load.
After energising the circuit, test each cooking zone and control function. On an induction hob, use a suitable pan to confirm that the zones detect cookware and heat correctly. Check that the cooker isolator operates as expected and that there is no burning smell, flickering display, abnormal noise or heat at the connection point.
A slight smell from new manufacturing materials can occur during first use, but electrical burning smells, repeated tripping or an error code should never be ignored. Isolate the hob and arrange professional fault finding.
Common Installation Mistakes to Avoid
The most common problem is treating a hard-wired hob like a plug-in kitchen appliance. Other avoidable mistakes include reusing damaged flex, omitting the earth connection, fitting a higher-rated breaker to stop nuisance tripping, trapping the cable behind an oven and blocking the ventilation space below an induction hob.
Another frequent issue is choosing a replacement without checking cut-out dimensions. A new hob may be the same nominal width as the old one but require a different opening or different clearance to surrounding units. This is particularly relevant when upgrading from ceramic to induction.
If the existing cooker circuit, consumer unit or wiring is in doubt, do not take chances. FaultFree Engineering Group can assess the supply, install or replace an electric hob, and test the finished work for households, landlords and businesses across London. The right installation protects the appliance, the property and everyone using the kitchen.